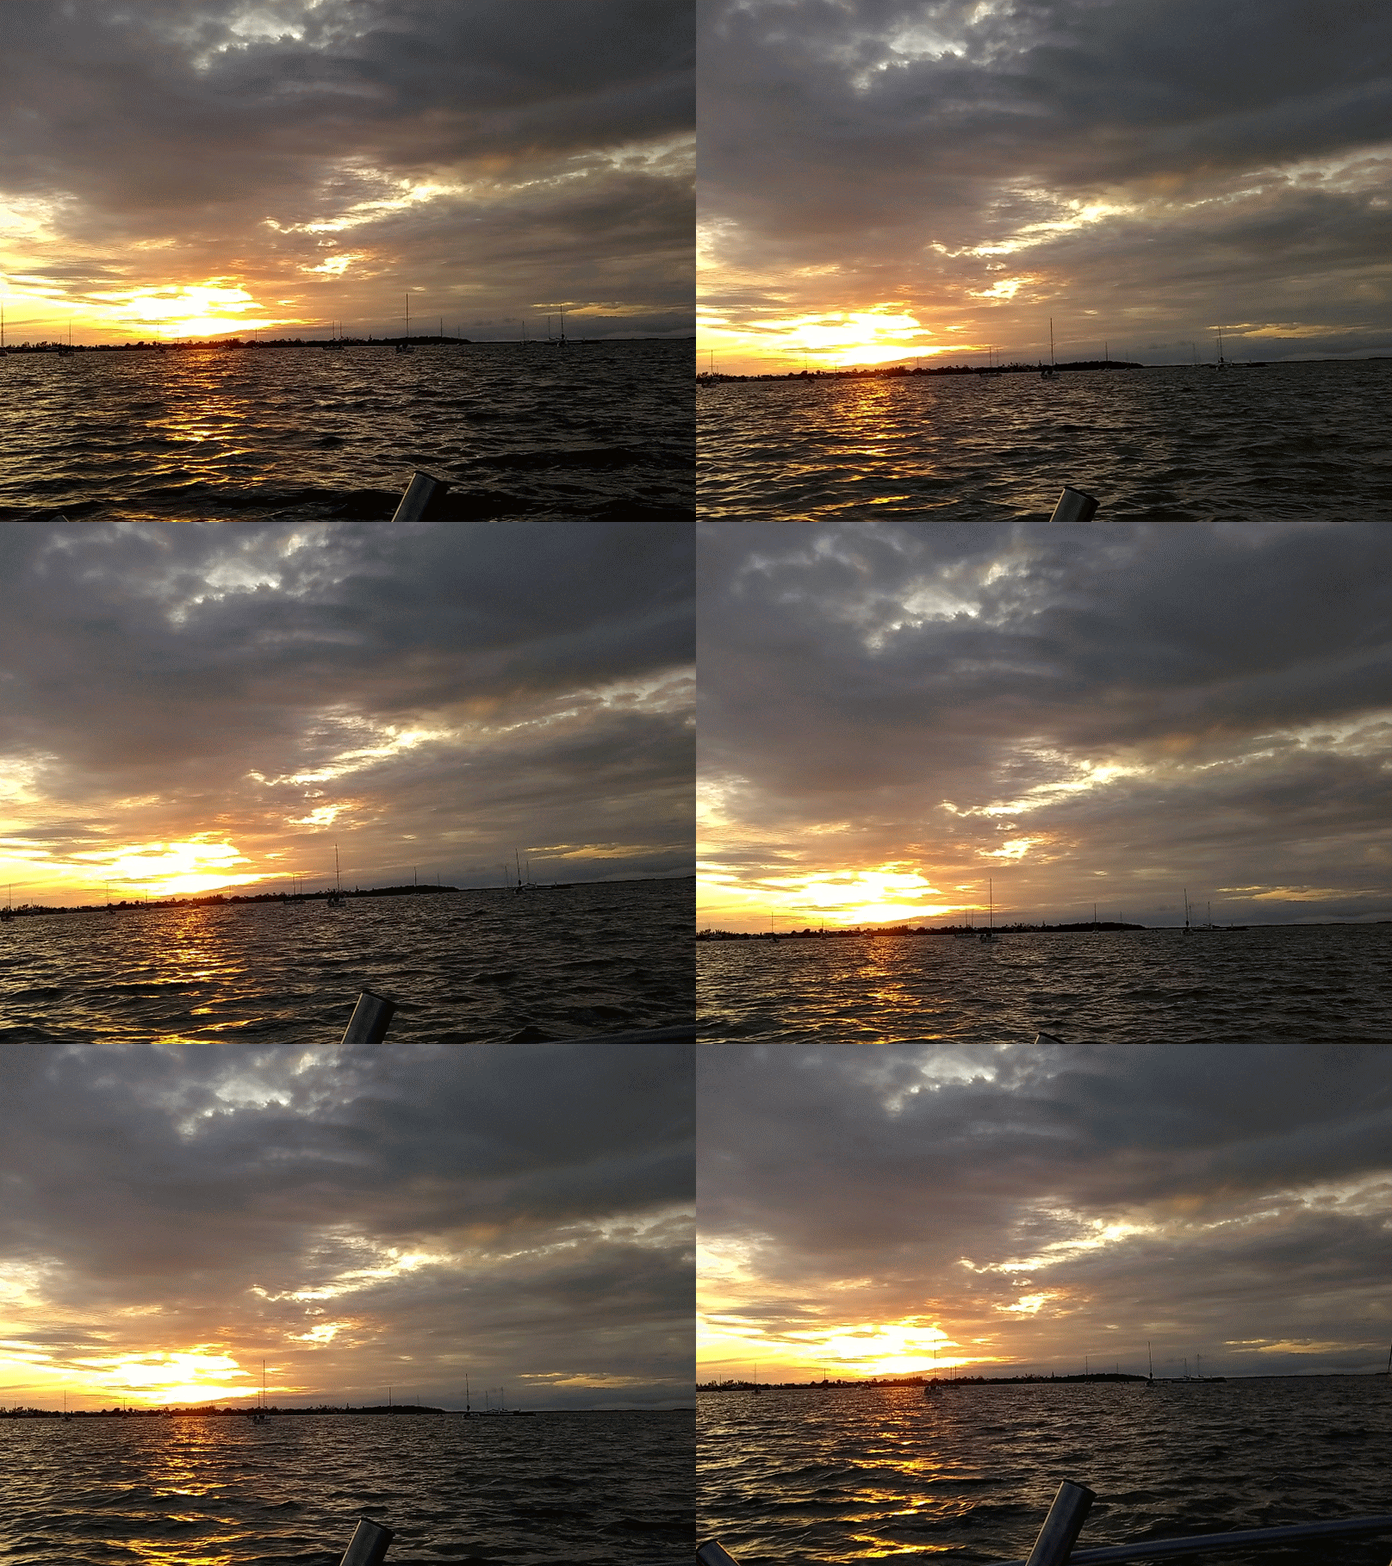
This article is going to help you change the built in WordPress 2019 Gutenberg Featured Image shading.
“I say there is no darkness but ignorance.”
William Shakespeare, Twelfth Night
William Shakespeare warned us that there is no darkness but ignorance. Applying the quote to this blog post, there are two darknesses — ignorance, and also the darkness that envelops the Featured Image on the newly released Twenty Nineteen theme!

Introduction
As many of my colleagues followed suit, I was excited with the most recent WordPress offering! I quickly update to WordPress 5.x, and Gutenberg blocks, and Twenty Nineteen … and bam, gosh I do not like those darkened Featured Images! While I am sure it is just that I am not yet used to them, this Darkness Factor must go! Another reason is that I have folks complaining because they didn’t ask for this “new shading” darkness, it just showed up.
In this article I’m going to show you the easy way to get rid of those colored Featured Images. Stick with me, it is just a few steps.
Before we start, let me mention there is some amount of controversy over changing this darkening behavior. The reason for the default darkening behavior has to do with contrast, and making sure the text on your main page shows up adequately. After you have completed this task, make sure your text shows up reasonably well.
In my opinion, it is always good to have options. As you get more familiar with the 2019 theme, you may even want to change the behavior back to default. It is easy enough to do. Enough said, here is how to updated the WordPress 2019 Featured Image default color enhancement.
There are only two configuration items to make all this happen. The first is to turn off the 2019 Filter. The second is to add CSS to remove shading.
1. Log in as Administrator

First thing you’ll have to do is log in as Administrator. If you’ve read my blog post on Security, I’ll expect that the username is NOT admin! 🙂
You actually don’t have to be Admin, you just have to have the ability to change the Appearances section of WordPress.
2. Disable 2019 filter
The first step is to disable the filter.
Go to Customizer

Click through to the 2019 Theme Customizer.
Go to Colors

Click through to the Colors menu.
Disable Filter

Uncheck “Apply a filter to featured images using the primary color”.
While you change the default, keep a note of this option! You might even consider dabbling in the Custom Color area just to get a better understanding of what this option accomplishes.
Before you continue with the next step you should go check your Featured Image. It might be to your liking! Here is what mine looked like.

3. Add nobackground CSS
The second step is to update the CSS.
Open the Additional CSS editor

We’ll be adding a little code to the CSS editor here. CSS editing in WordPress is not complicated, so don’t get worried!
On the Twenty Nineteen theme Customizer page, there is a link to “Additional CSS”. This allows you to modify CSS attributes in a controlled environment. If anything goes wrong, you can just go right back into this area and delete any customizations. The rest of CSS will remain intact! This “Additional CSS” area basically adds to and overwrites any competing CSS attributes.
Add featured image CSS

In the Additional CSS Editor, add the following CSS
.site-header.featured-image:after {
   background: none;
   }
The Additional CSS area will look like this when you are done. And your Featured Image preview will be the featured image with no shading!
4. Publish

Click the Publish button at the top of the page, and you are done!
The final product!
This is the way the image was supposed to look.

Acknowledgement
Shout out to @addweb-solution-pvt-ltd who was the first post I found with the necessary CSS. Thank you!

Leave a Reply
You must be logged in to post a comment.